January 12, 2026
How Window Leaks in Brick Homes Mimic Roof Leaks in Winter
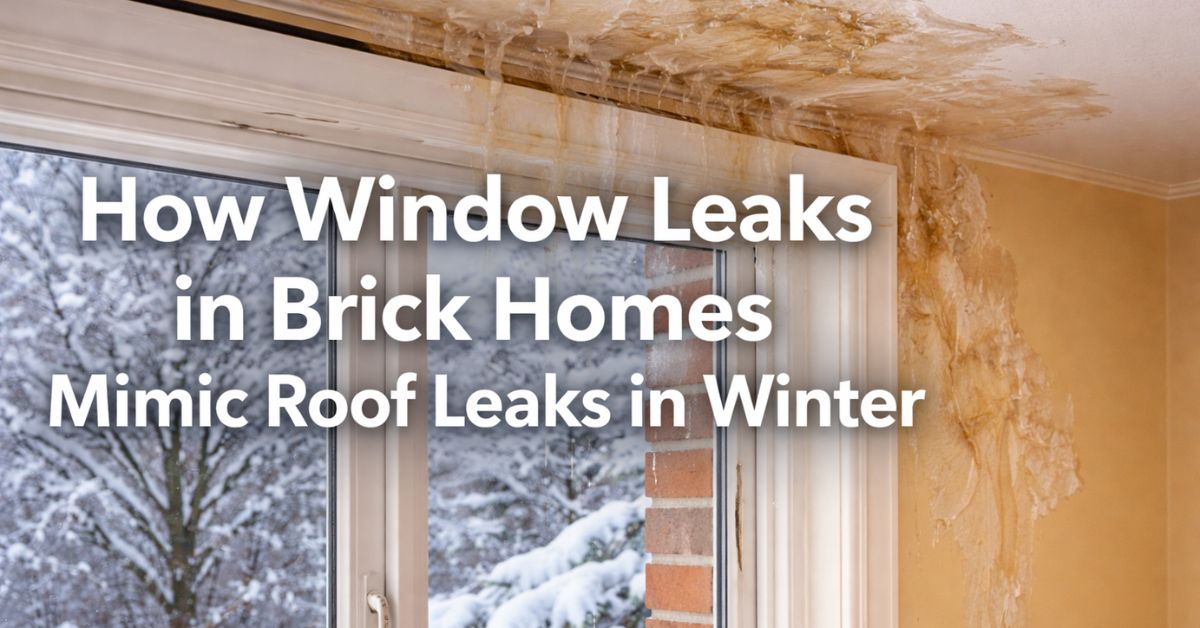
Every winter, St. Louis homeowners notice the same troubling signs: water stains on walls, damp window headers, peeling paint near ceilings, or moisture collecting around trim. The immediate assumption is almost always the same — the roof must be leaking.
But in many older brick homes across neighborhoods like Clayton, University City, Kirkwood, The Hill, and Benton Park, the roof isn’t always the culprit. In fact, a surprising number of “roof leaks” during winter actually originate at the windows.
Understanding how window leaks mimic roof leaks can save homeowners thousands of dollars in unnecessary roof repairs — and help fix the real problem before it causes structural damage.
Why brick homes behave differently in winter
Brick homes were built to last, but they were constructed in an era before modern moisture barriers, flashing systems, and energy-efficient windows. Brick is porous by nature. It absorbs moisture and releases it slowly, especially during freeze-thaw cycles.
In winter, this behavior becomes more pronounced because:
- Snow melts against warm masonry
- Ice forms and refreezes repeatedly
- Moisture gets trapped behind brick
- Old mortar joints allow water intrusion
- Temperature differences drive condensation inward
The result is water movement that looks like a roof leak — even when the roof is performing correctly.
How window leaks travel upward and inward
Unlike roof leaks, window leaks don’t always drip straight down. In brick construction, water often travels:
- Behind the brick veneer
- Along wood framing
- Across window headers
- Upward due to capillary action
- Sideways through plaster or drywall
This is why homeowners often see moisture:
- At the top corners of windows
- Near ceiling lines
- Along interior walls
- Around crown molding
These symptoms are frequently misdiagnosed as roof flashing failure or shingle damage.
Common winter window leak sources in brick homes
1. Failed window flashing
Older brick homes often lack proper flashing above windows. When snow melts against the wall, water slips behind the brick and enters the wall cavity.
Without flashing to redirect it outward, moisture works its way inside.
2. Deteriorated mortar joints
Freeze-thaw cycles expand small cracks in mortar. Water enters, freezes, expands, and creates larger pathways. Over time, this allows moisture to bypass the exterior wall entirely.
3. Old or poorly sealed window frames
Wood and early aluminum window frames shrink, warp, and crack over decades. During winter, cold air meets warm indoor air, creating condensation that appears as an active leak.
4. Missing or clogged weep holes
Brick walls are designed to drain moisture through small openings called weep holes. When these are blocked by paint, debris, or old repairs, water has nowhere to go — except inward.
Why these leaks look like roof problems
Window leaks often appear:
- After snowstorms
- During ice melt
- On upper floors
- Near ceiling intersections
- Beneath rooflines
Because the timing matches winter weather, homeowners naturally blame the roof. Even experienced contractors can misdiagnose the source if they don’t understand brick wall water movement.
Replacing shingles won’t fix a flashing-less window.
Signs it’s a window leak, not a roof leak
Look closely for these indicators:
- Moisture appears only during thaw cycles
- Stains start at window corners, not roof penetrations
- No attic moisture is found
- Leaks occur during wind-driven snow
- Brick exterior shows efflorescence (white powdery residue)
- Interior damage aligns with window headers
If these signs are present, the roof may be innocent.
The role of temperature and condensation
In winter, warm interior air rises and meets cold window frames. This temperature difference causes condensation — especially in older, single-pane or poorly insulated windows.
Condensation can drip downward, soaking trim and drywall, making it appear as though water is entering from above.
This issue worsens when:
- Humidity levels are high
- Insulation is lacking around window frames
- Air sealing is poor
- Ventilation is inadequate
Why fixing the roof alone won’t solve the problem
Many homeowners replace roofs only to discover the “leak” returns the following winter. That’s because:
- The real source was the wall or window
- Moisture pathways remain unchanged
- Brick continues absorbing and releasing water
- Window flashing was never addressed
Roofing repairs without wall and window evaluation often lead to frustration and wasted money.
How professionals identify the true source
A proper winter moisture diagnosis includes:
- Exterior brick inspection
- Window flashing assessment
- Mortar joint evaluation
- Attic inspection for moisture trails
- Thermal imaging to track heat loss
- Interior wall moisture mapping
This holistic approach prevents misdiagnosis.
Preventing window-related winter leaks
Homeowners can reduce risk by:
- Replacing or repairing window flashing
- Repointing deteriorated mortar
- Ensuring weep holes are clear
- Upgrading old window units
- Sealing interior air leaks around frames
- Controlling indoor humidity levels
In many cases, these steps stop winter leaks without touching the roof.
The takeaway
In brick homes, water doesn’t always follow gravity. It follows temperature, pressure, and hidden pathways.
If you’re seeing winter leaks and your roof checks out fine, don’t assume the problem is overhead. Windows and masonry are often the real culprits — especially in older St. Louis homes.
Understanding this distinction helps homeowners make smarter repairs, avoid unnecessary roof replacements, and protect their homes long-term.
Family First Exteriors understands how roofs, walls, windows, and insulation work together — especially in historic brick construction. If you’re dealing with a mysterious winter leak, getting the diagnosis right is the first step toward fixing it for good.